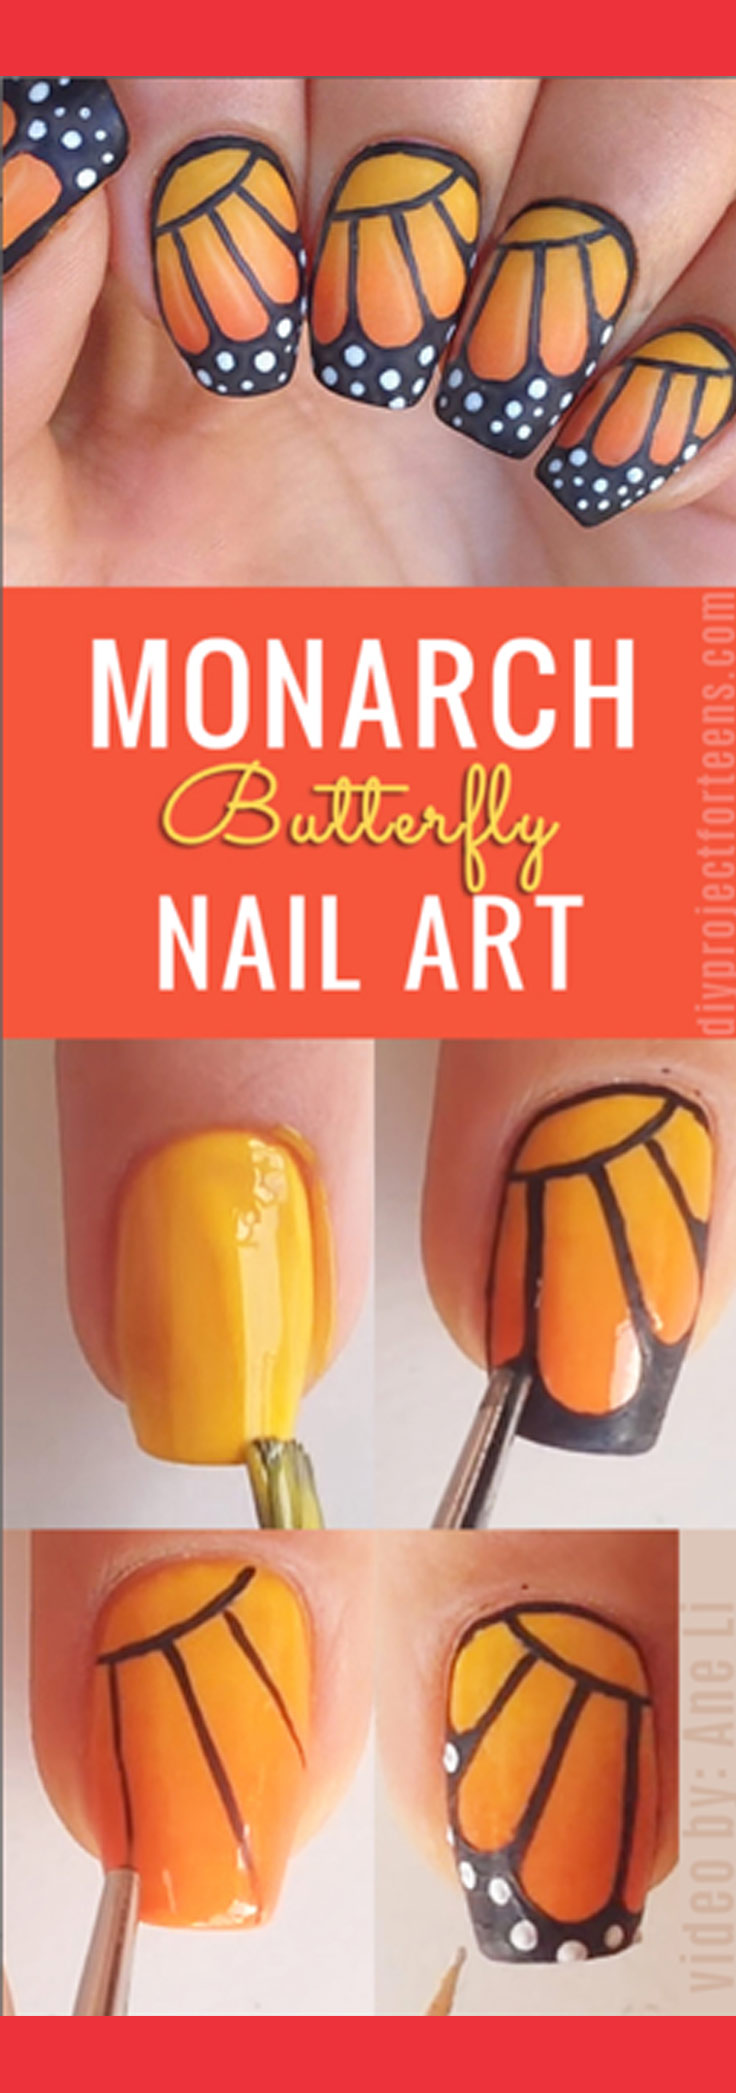
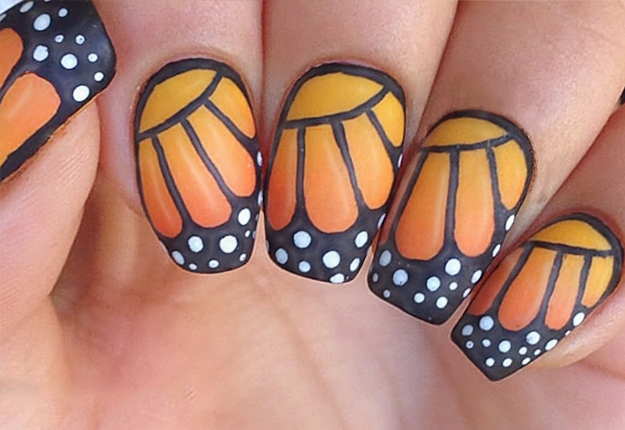
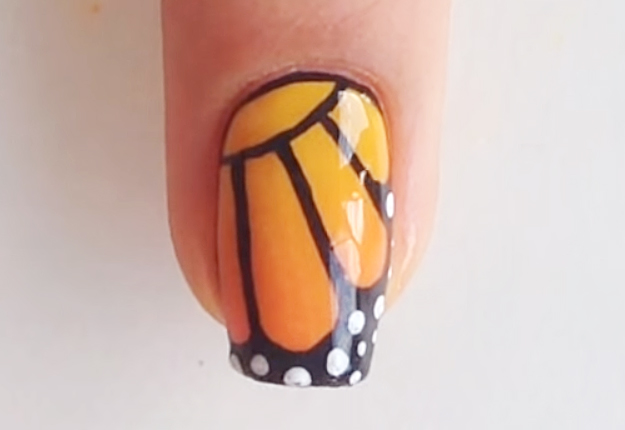
Love butterflies? If so, you have to try this monarch butterfly nail art tutorial. This is one of my top 10 favorite nail art designs. It is so unique and easy to do- perfect for teens, I think.
You use a couple of different cool nail art techniques to get this cool effect, too, so you will have some new skills to add to your nail art repertoire.
How To Do Butterfly Nails
Supplies you will need:
Clean Makeup Sponge
Clear Nail Polish
Yellow Nail Polish
Orange Nail Polish
Black Nail Polish
White Nail Polish
Thin Paintbrush
Qtips
Youtube Video Tutorial:

Step by Step Instructions for Butterfly Nail Art:
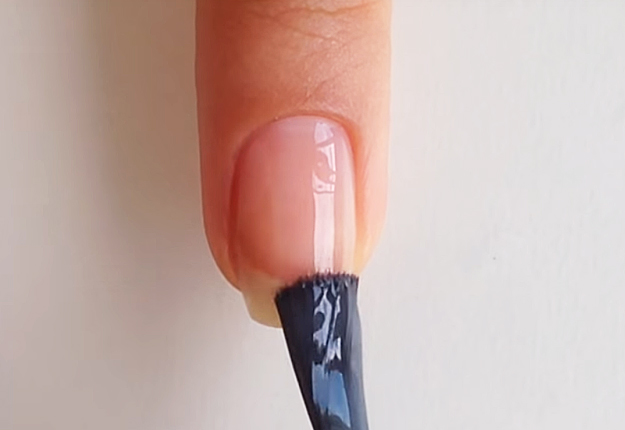
1.Start with a base coat to protect you natural nail.
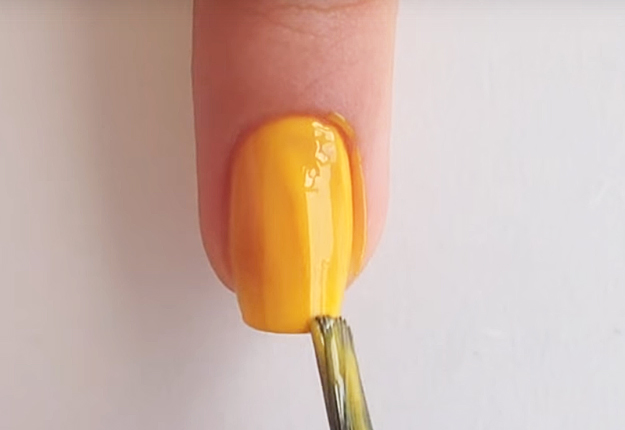
2. Paint your nails 2 coats of yellow nail polish and let dry completely.
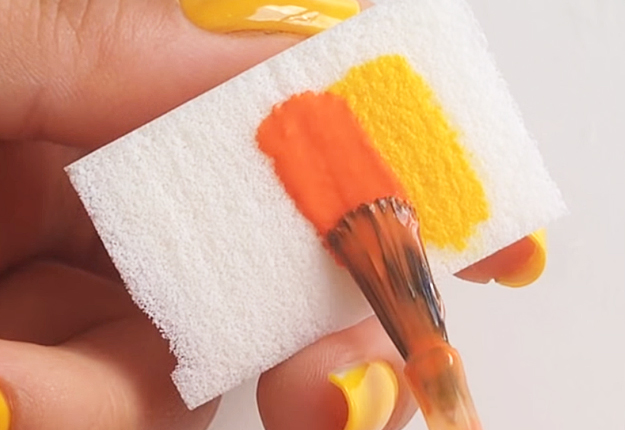
3. Now take a make-up sponge and paint a stripe of yellow and orange.
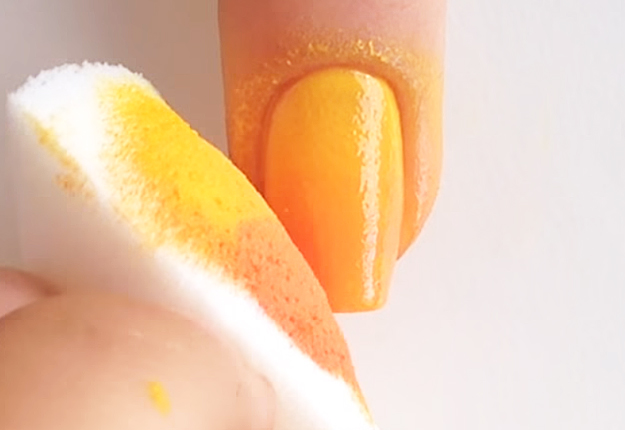
4. Roll the sponge over you nail and then dabbed it up down to blend the colors left it dry for about a minute before you re apply the polish to the sponge and this time roll it diagonally over your nail. Let it dry for about 2 minutes.
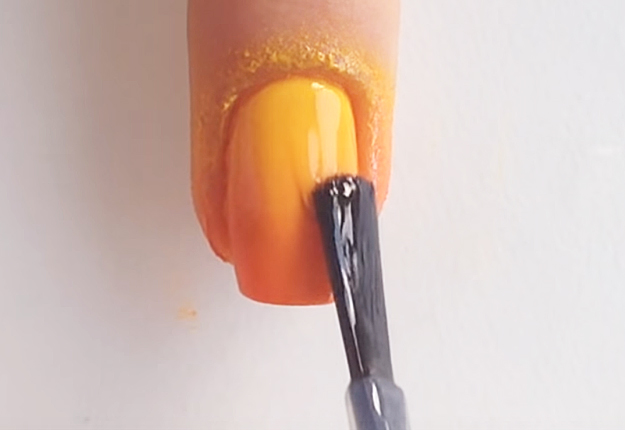
5. Apply fast drying top coat to straighten it out and blend the colors even more. This will also make it easier to paint the design.
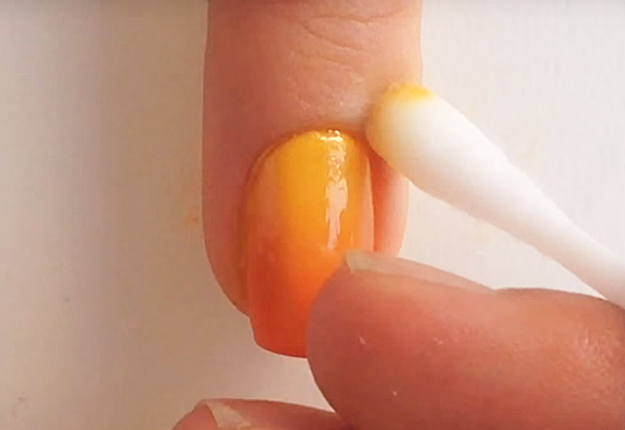
6. Clean up around your nail with a q-tip with a polish remover because we don’t want it to ruin our next steps later.
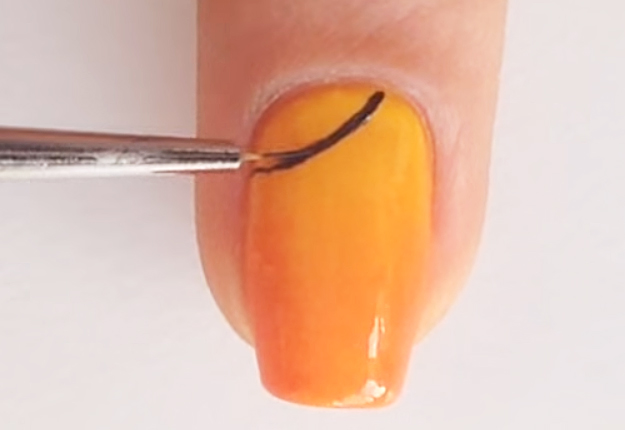
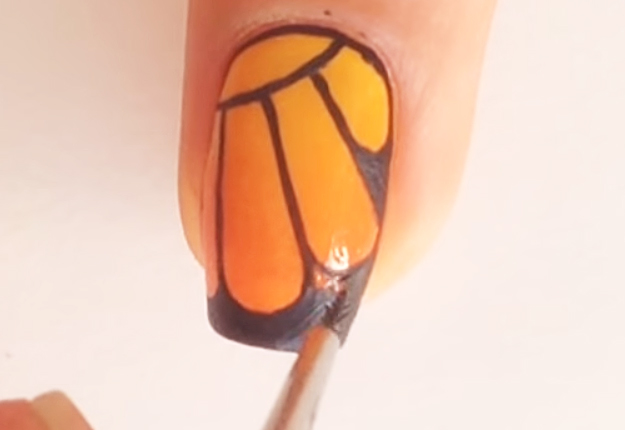
7. Paint a curve line diagonally from your cuticle
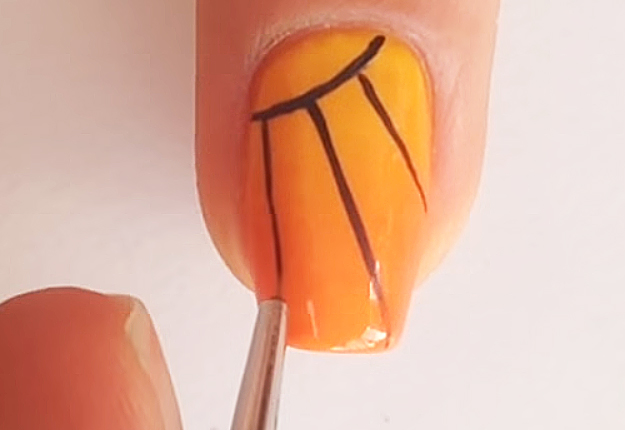
8. From the curve, draw three lines down the nail ( go back and fix the lines if necessary)
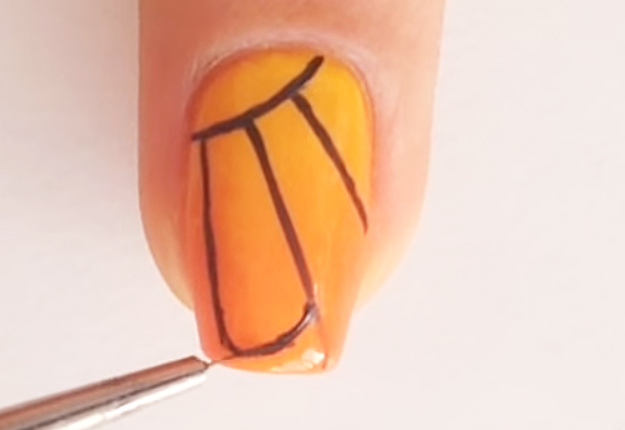
9. Curve the end of the lines.
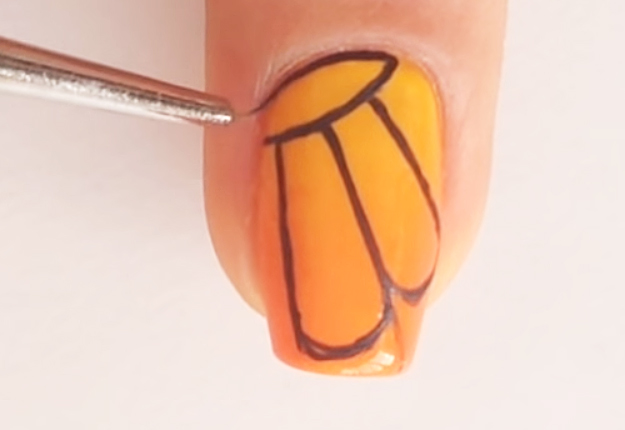
10. Outline the top part and the sides of the nail.
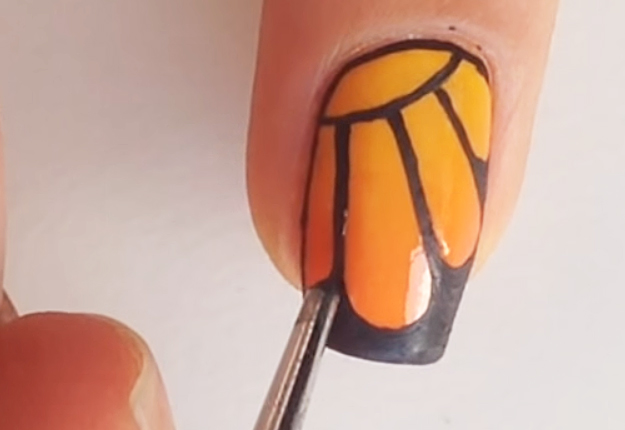
11. Start filling in the bottom spaces at the bottom part of your nail using your black nail polish. Make sure to cover it completely.
12. Go back and make the lines a bit thicker and even.
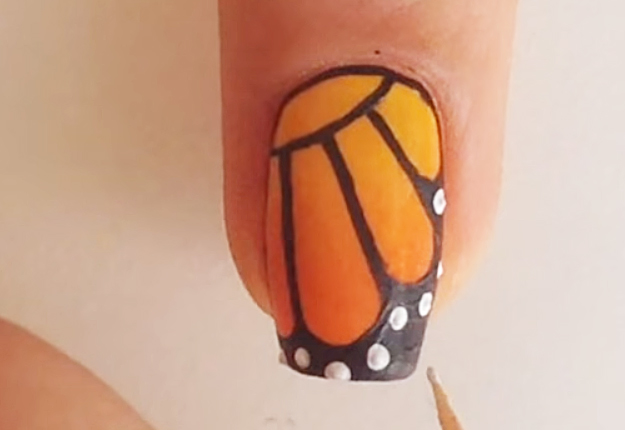
13. Take a toothpick and make different sizes of white dots similar to the picture below.
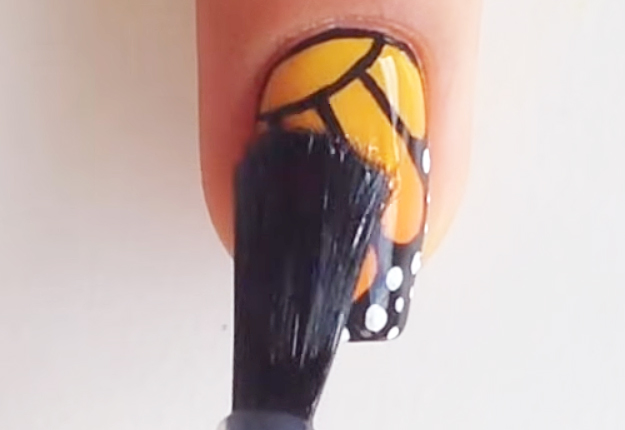
14. Allow the paint the to dry for a couple of minutes and apply fast drying top coat.
And your Monarch Butterfly Nail Art is done!
