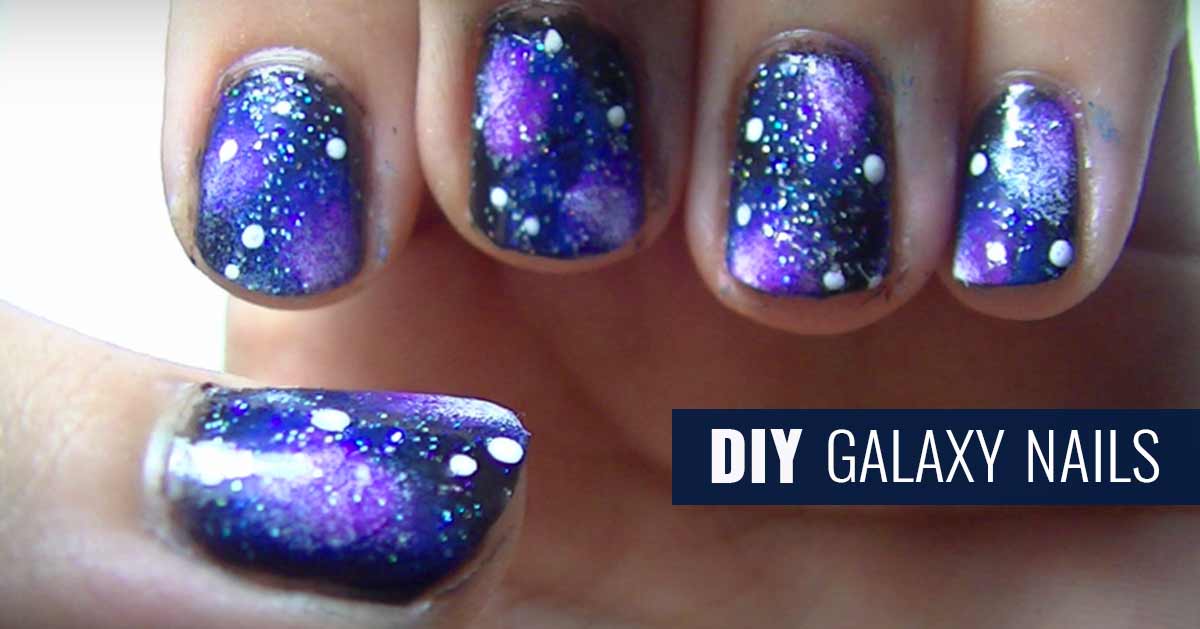
DIY Galaxy Nails Tutorial
Love the look of galaxy nails but afraid they are too difficult to do on your own? Never fear, we found this easy nail art tutorial that looks awesome but is not hard, and is pretty much a simple no fail method for getting a perfectly glamorous galaxy nail manicure. You will need a couple of different colors of nail polish for this one, but the techniques used are easy enough for beginners to follow along. I love this nail art tutorial for teens, as it is not impossible, and it is a lot of fun to do with friends. You will be amazed at how cool this one looks, with the stars and mesmerizing outer space look. This step by step tutorial Youtube video shows you exactly how to paint galaxy nails – check it out below.
Supplies You will Need:
Black Nail Polish
Purple Nail Polish
White Nail Polish
Glitter Nail Polish
Makeup Sponges
Nail Dotter (or Toothpick)
Step One
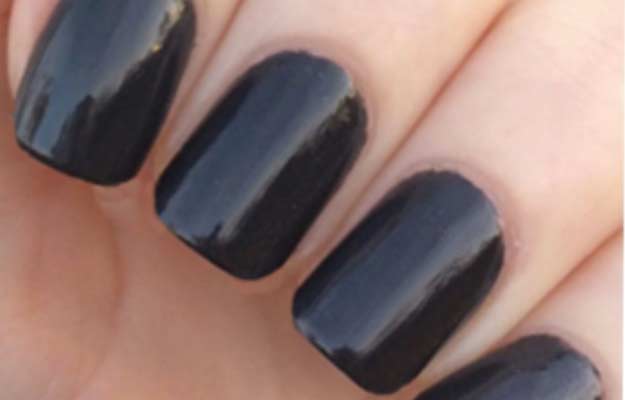
Paint All Nails Solid Black and Let Dry.
Step Two
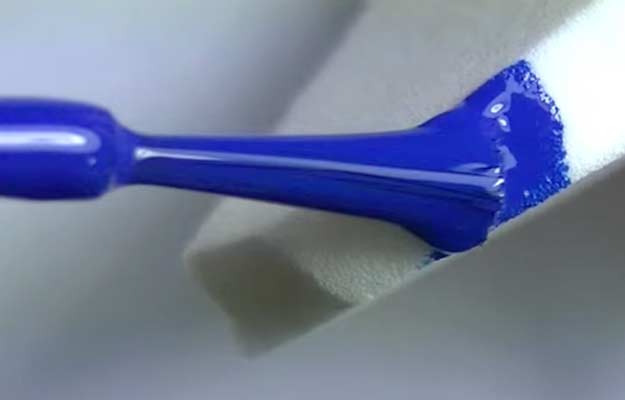
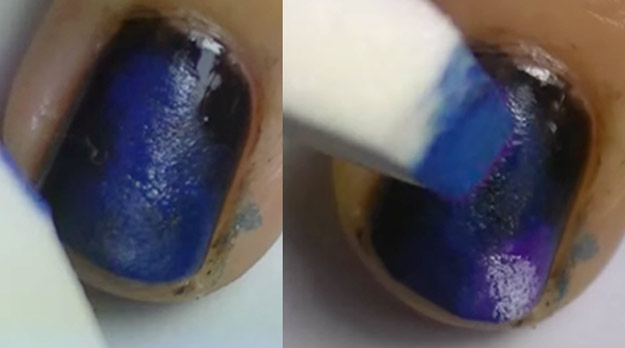
Add blue nail polish to your makeup sponge and daub spots on as shown in the galaxy nail art tutorial image below. Allow to dry. Repeat the same step with a different makeup sponge and white nail polish. All nails to dry
Step 3
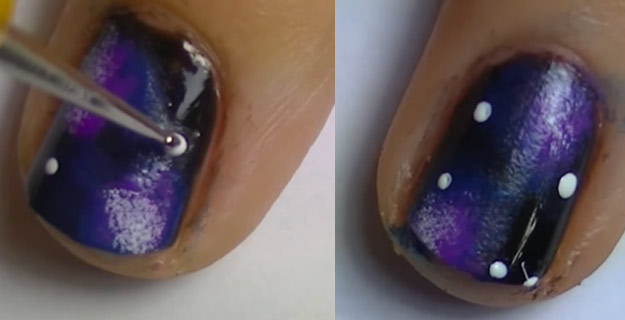
Use a nail dotter, add white spots in random pattern. Vary size of dots as shown below. Allow nails to dry.
Step 4
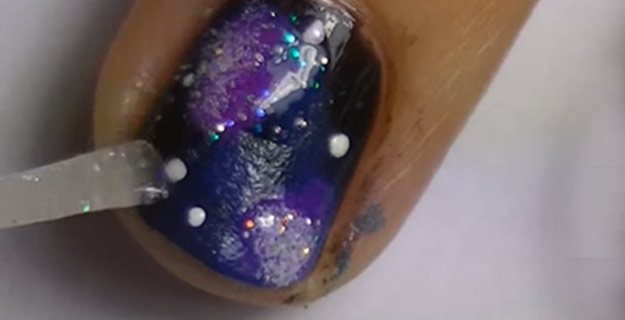
Add a coat of glitter polish.
Love this cool nail art idea? Save it and share on Pinterest

(Photo image credits to Rubiks Cube 907)
Video Tutorial for Do It Yourself Galaxy Nails
This awesome video by Rubiks Cube 907 shows you how to do this cool nail art project.

DIY Galaxy Nails Tutorial With Step By Step Instructions and Youtube Video

