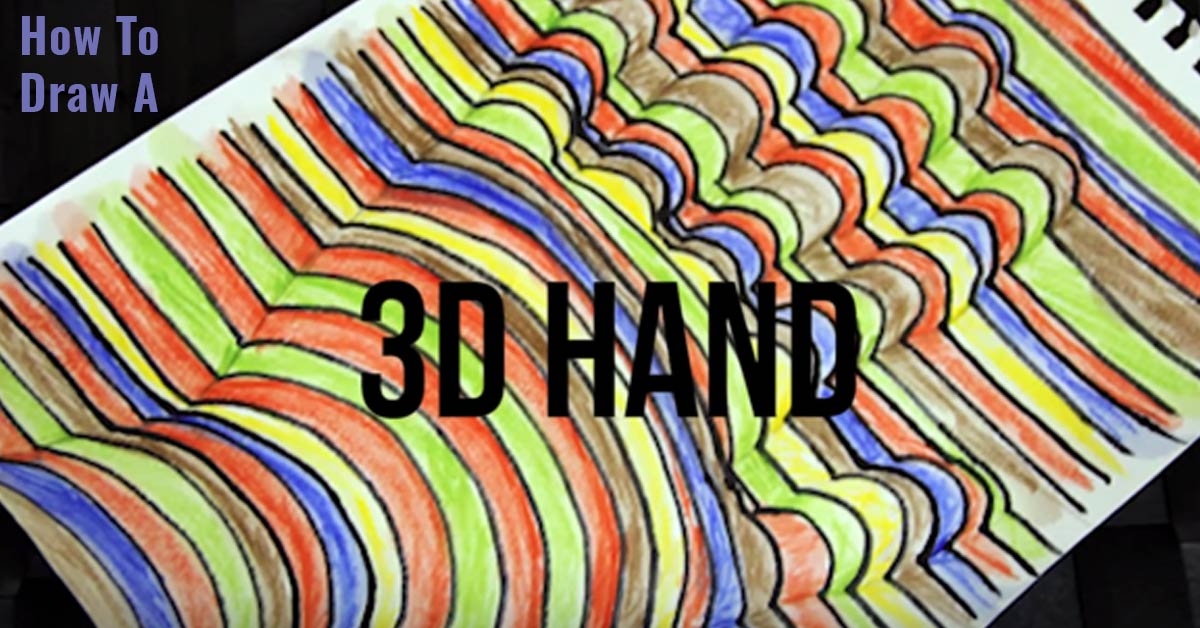
Looking for a cool arts and crafts idea and something cool to do? This DIY project will surprise you with the incredible results. Follow the step by step instructions in the tutorial to learn exactly how to draw a 3-D hand. This will be display worthy, we promise. The optical illusion is so cool and you can use whatever colors you like when drawing your hand.
Watch the Youtube video tutorial for a complete walkthrough and then check out the step by step photos below for specific steps.
How to Draw a 3-D Hand
Step One
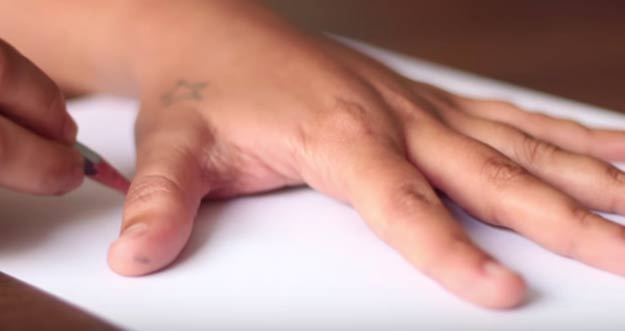
You will start by outlining your hand with a thin pencil outline.
Step Two
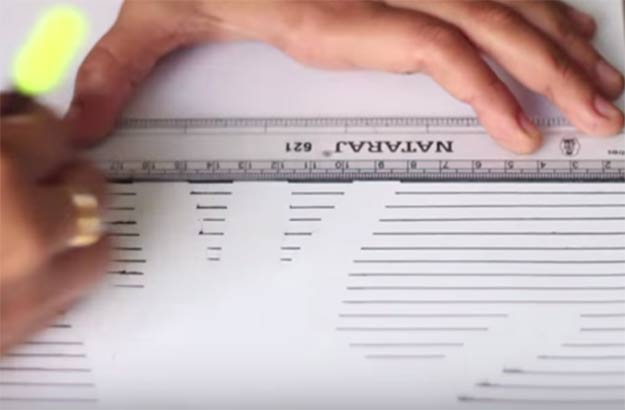
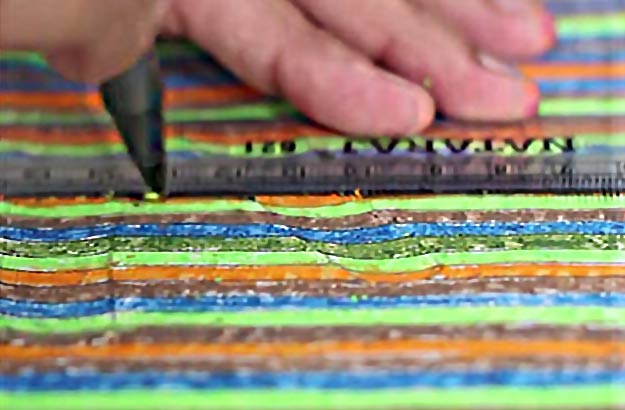
You will then use a ruler to draw horizontal lines around the outline of your hand. You can measure and mark the lines first if you want them perfectly spaced.
Step Three
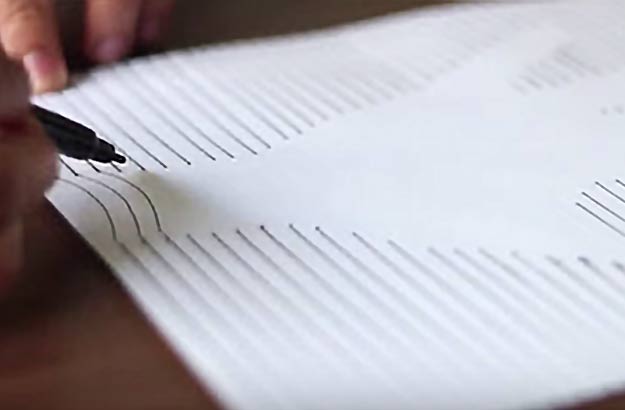
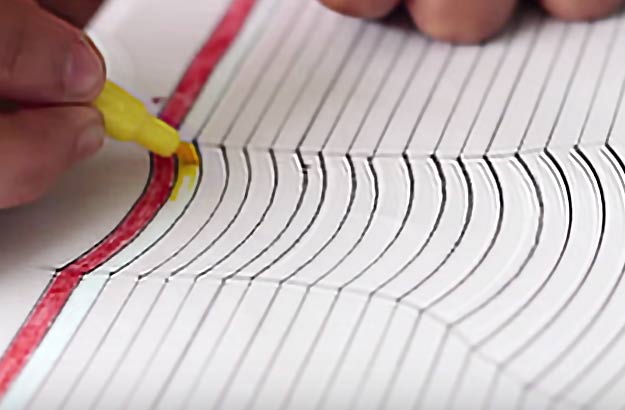
Here is where the effects start getting cool. You will then draw curved lines in the area where your hand was. Start at the bottom and continue drawing all the way to the top.
Step Four
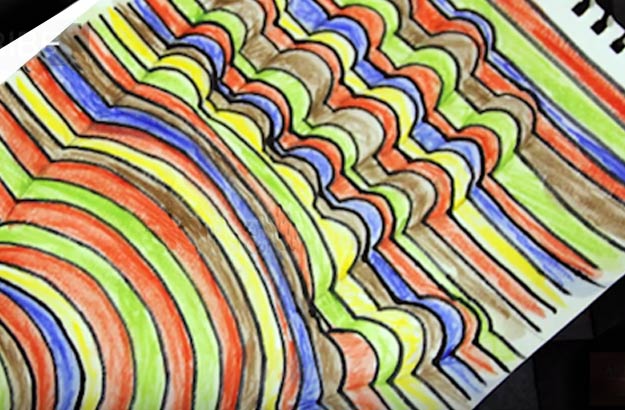
Now the really fun part- coloring. Using your creativity, color the lines of your drawing to make multi-color cool dimensional effect. You can use markers or colored pencils for this part.
Step Five
Go over the first lines you made with a darker marker (this is optional, though)
Your finished hand will look something like this. Pretty awesome, isn’t it? Share your pictures with us in the comments, too! We would love to see them

