EOS craze has shaken Youtube and Pinterest like real crazy and we want to join in the party! We are going to do a couple for this DIY EOS series so make sure to watch out for the upcoming ones!
So! For our first article of the series, we have chosen to lay out an EOS DIY tutorial from the #1 top search result on Pinterest. It is one of the most fun, artistic and creative EOS craft and we all love it here from diyprojectsforteens! If you are up for a colorful crafting today, then let’s get you started!
DIY: EOS Gumball Machine Tutorial
What you need:
- EOS Lip Balm
- A small piece of cardboard
- White spray paint
- Red Polymer Oven-Bake Clay
- Silver Polymer Oven-Bake Clay
- Multi-color dots sticker
- 1 Earring findings
- Flush Cutter
- Permanent Craft Adhesive (E6000)
- curved scissors
- 1 toothpick
- Black Sharpie
Step 1

Get your EOS lip balm and a piece of cardboard. Open your EOS lip balm and trace a circle from the piece that doesn’t have the lip balm on it on the cardboard.
Step 2
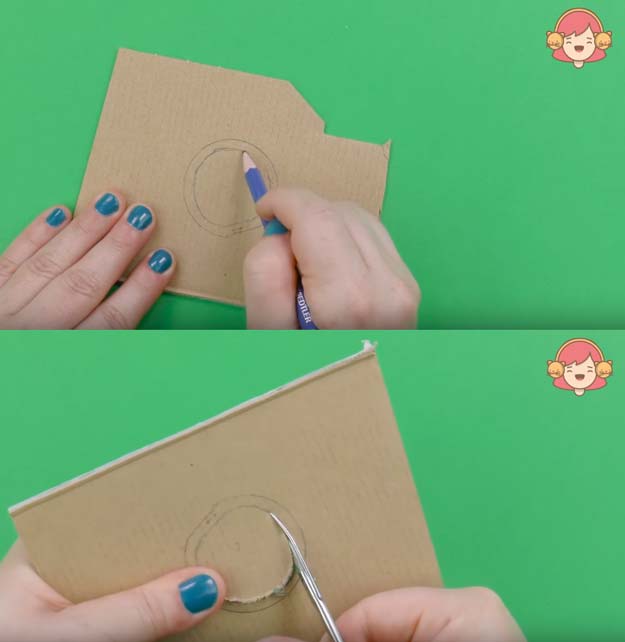
Draw the inner line of the EOS cap. Cut the cardboard following the inner line of the EOS cap with a curved scissor.
Step 3
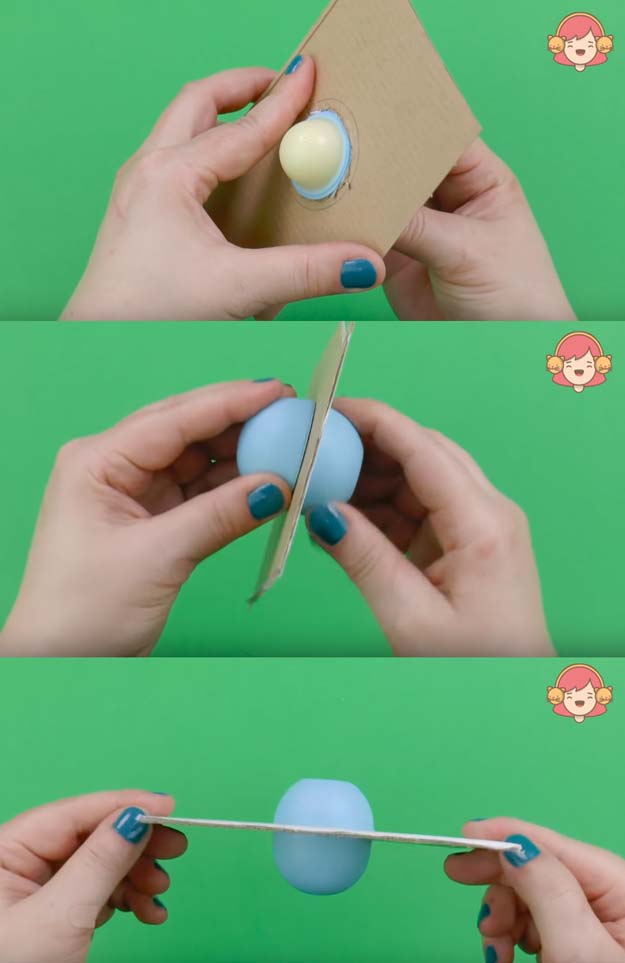
Attach the EOS lip balm together in between the cardboard. Make readjustments as you see fit.
Step 5
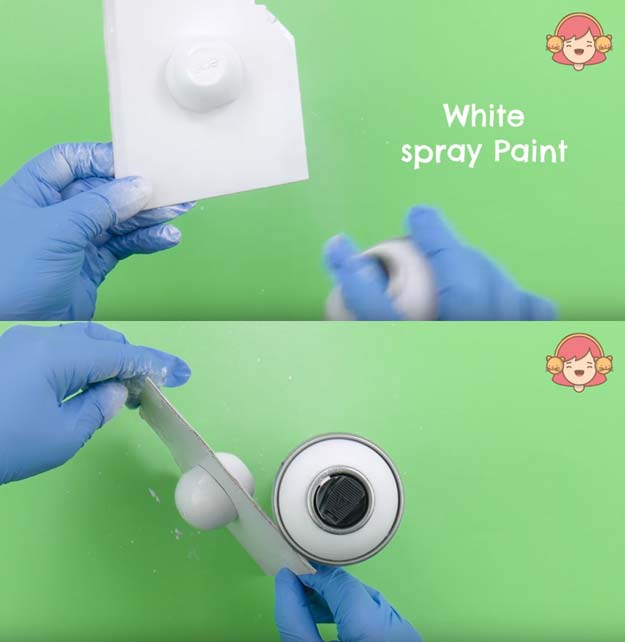
Spray white paint on both sides of the EOS and let dry.
Step 6
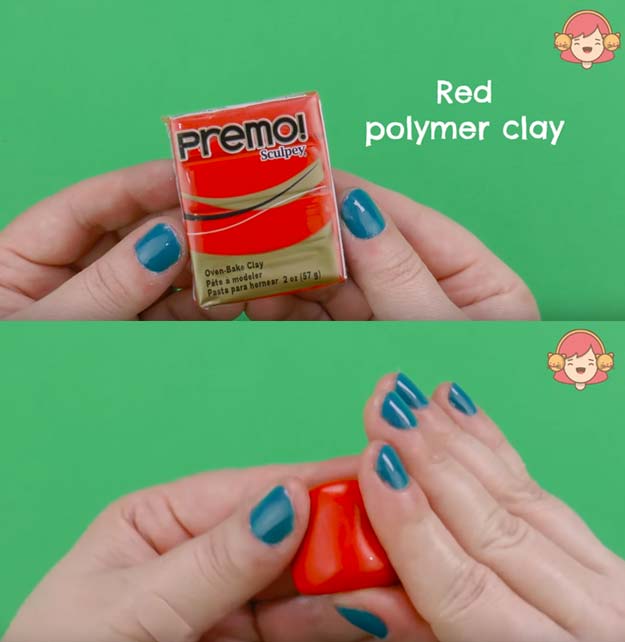
Get your red polymer oven-bake clay and mold the base of the gumball machine.
Step 7

Get your silver polymer oven-bake clay and cut a thin rectangle to attach to the gumball machine base.
Step 8

Out of the red polymer clay, mold the top of the gumball machine starting with the bigger round shape. You want to mold a convex on the other side of the mold and a flat base on the other side so that the convex side protrudes outward. Then mold a small dot.
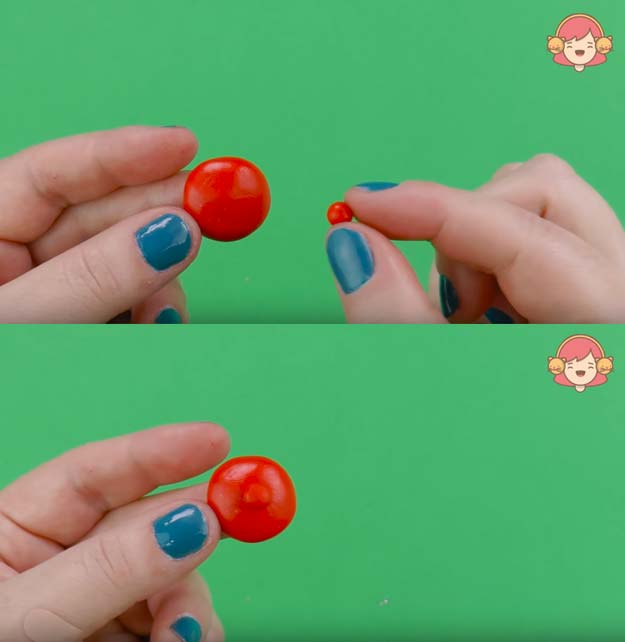
Attach the molds together, with the smaller round mold topping the convex mold.
Step 9

Bake the molds you made for 30 minutes.
Step 10
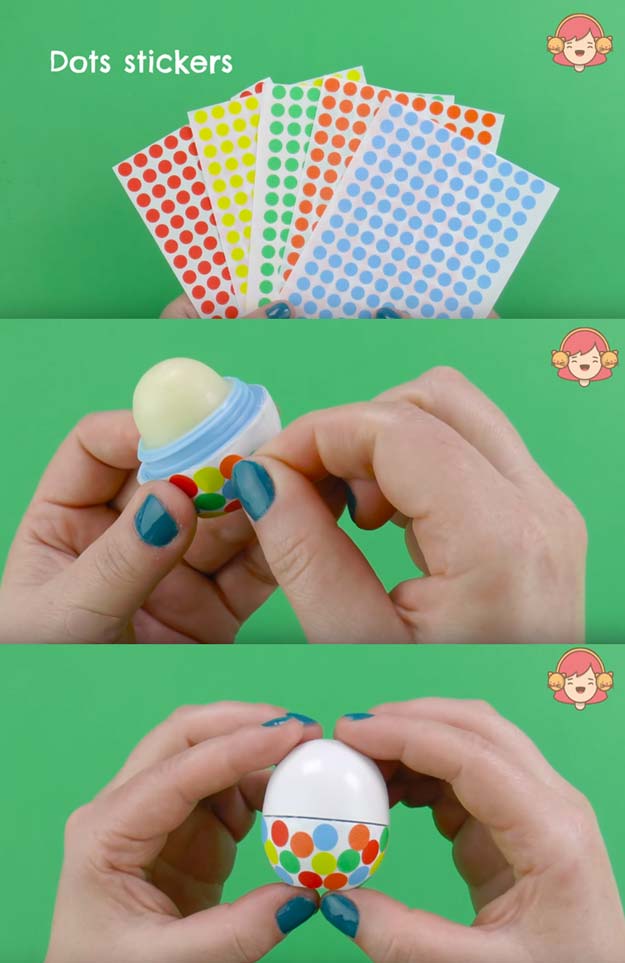
Get your multi-colored dots sticker and stick them on the bottom piece of the EOS where the lip balm is set in.
Step 11
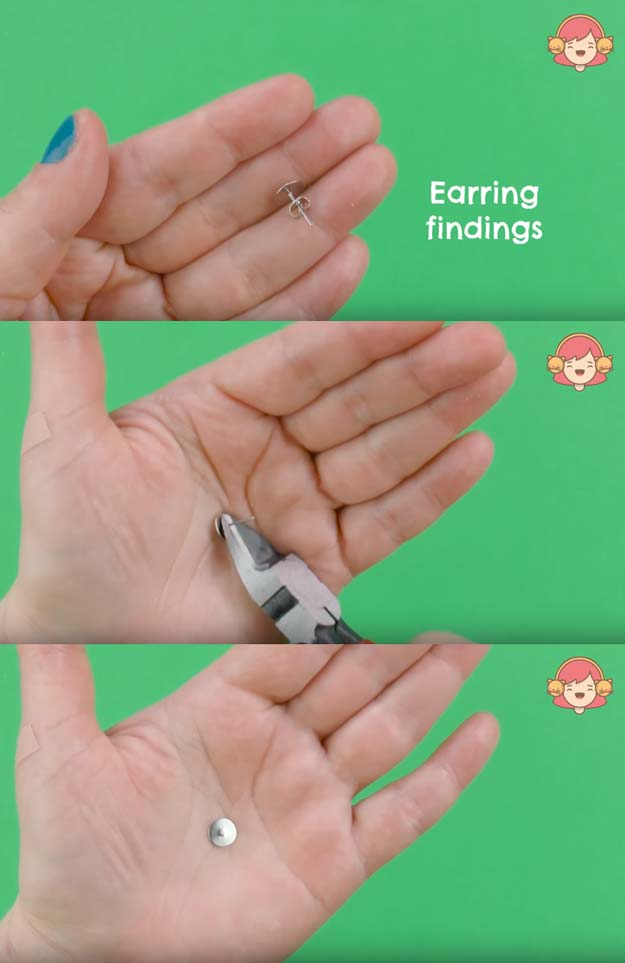
Get a piece of an earring findings, we only need one, and then cut the post so you only have the base of the earring stud.
Step 12
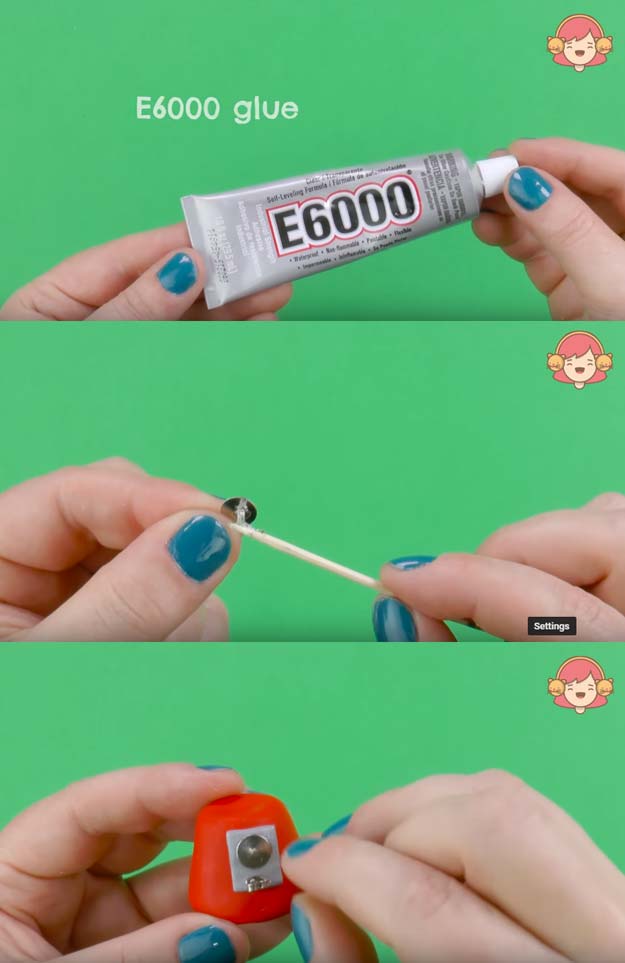
Get your permanent craft adhesive, in this case we are using the E6000 glue. Using a toothpick, put a small amount of this glue to the base of the earring stud. Put this and the butterfly lock of the earring findings on the silver rectangle shape of the gumball base.
Step 13
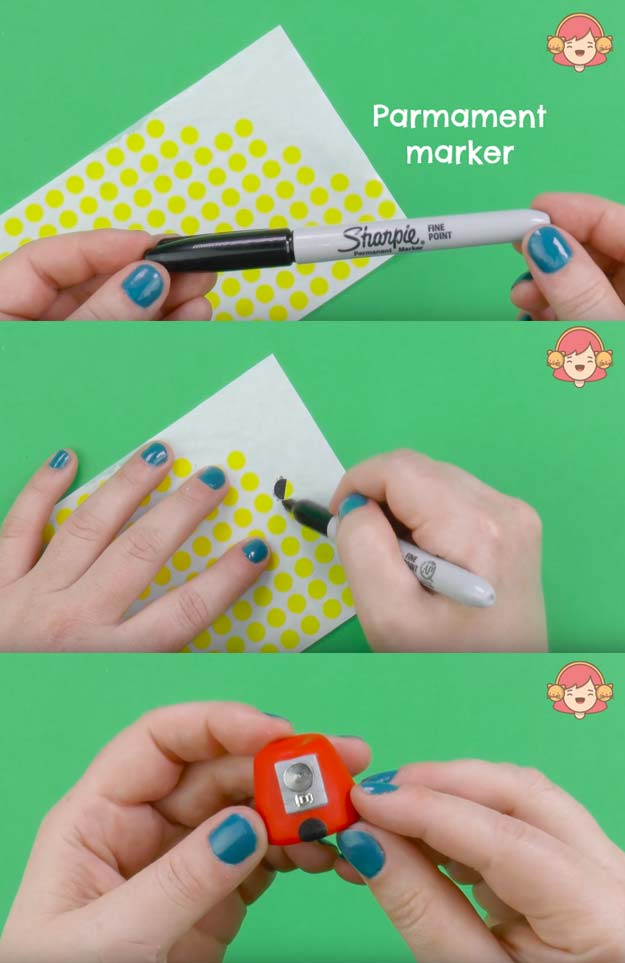
With a black sharpie, color block one colored dot and attach it at the bottom of the gumball base leaving a quarter of the bottom part of the dot folded at the base of the stand.
Step 14
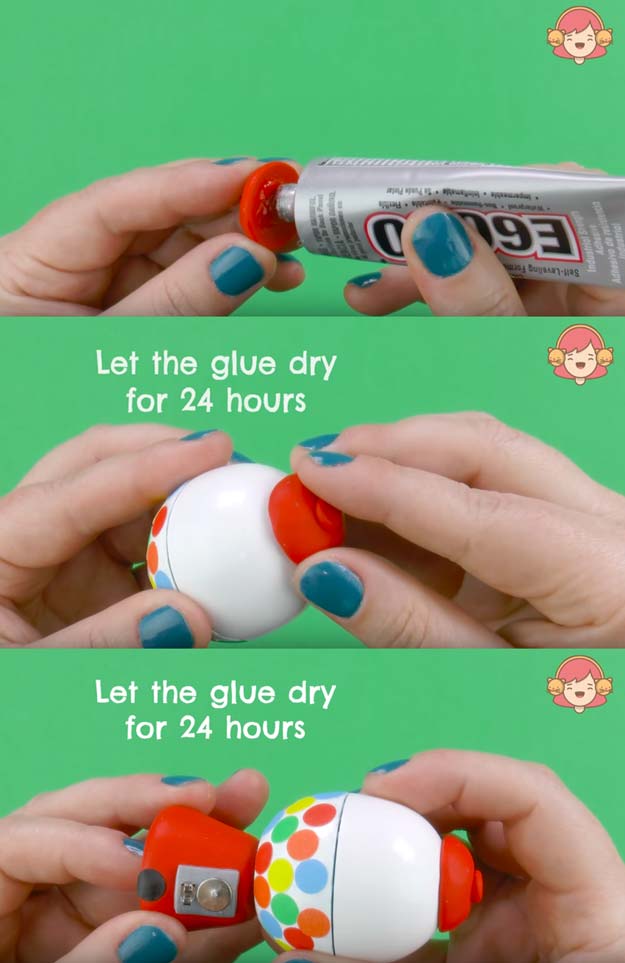
Now you are ready to glue the base and the top of the gumball machine to the EOS with the E6000 glue. Let dry for 1 day (24 hours).
And there you have your Gumball Machine EOS Lip Balm!


